Quilt-As-You-Go Class: 3 Methods by Machine - VIRTUAL
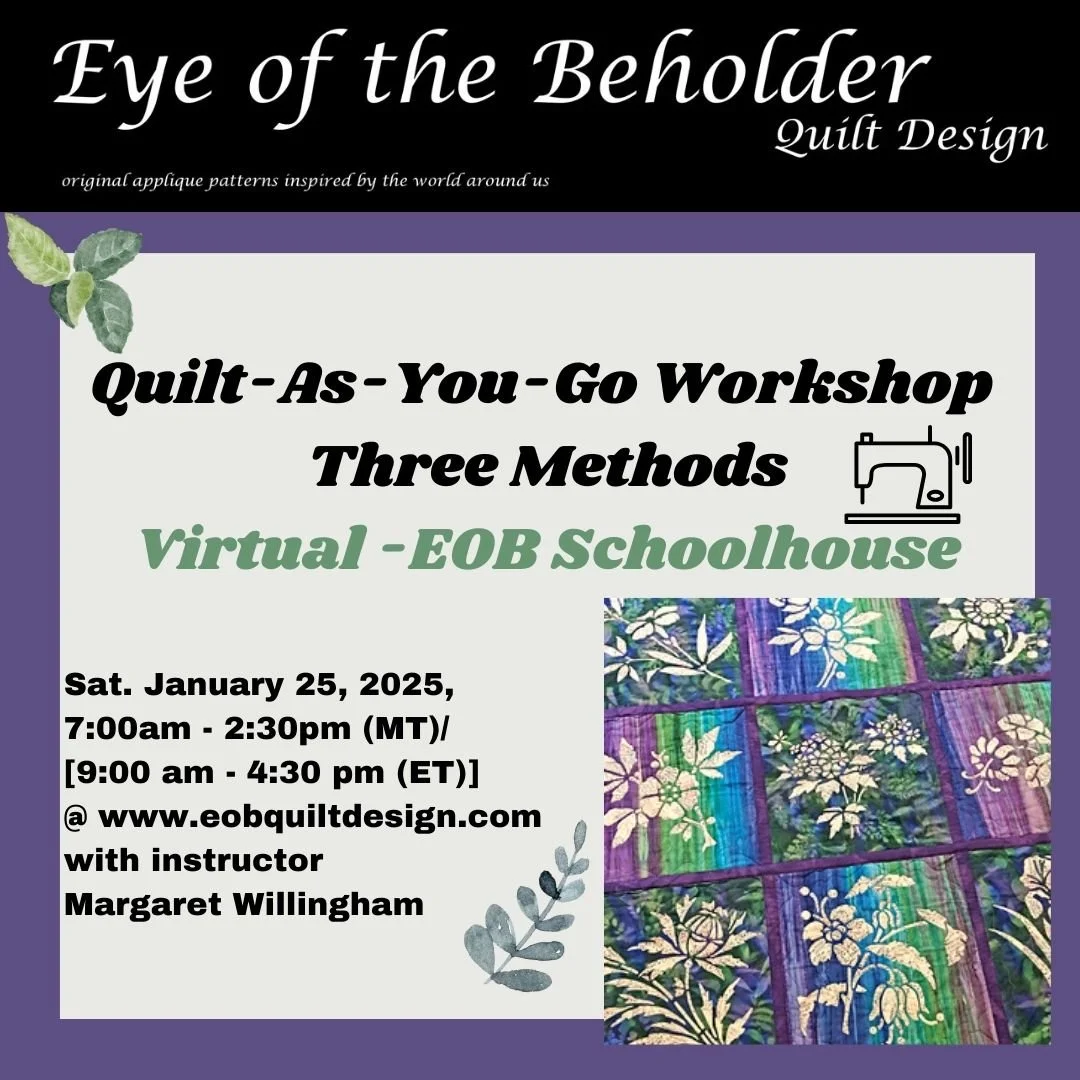


Quilt-As-You-Go Class: 3 Methods by Machine - VIRTUAL
Class sizes limited to 20. Full day virtual class!
Saturday, January 25, 2025
7:00 - 2:30 pm (MT)/ 9:00 am - 4:30 pm (EST) with an hour lunch break
Do you have trouble getting your quilts quilted on your sit-down sewing machine because of all that bulk? Quilt first and then sew your quilt top together. Let me teach you how. You will learn 3 methods for joining already quilted blocks.
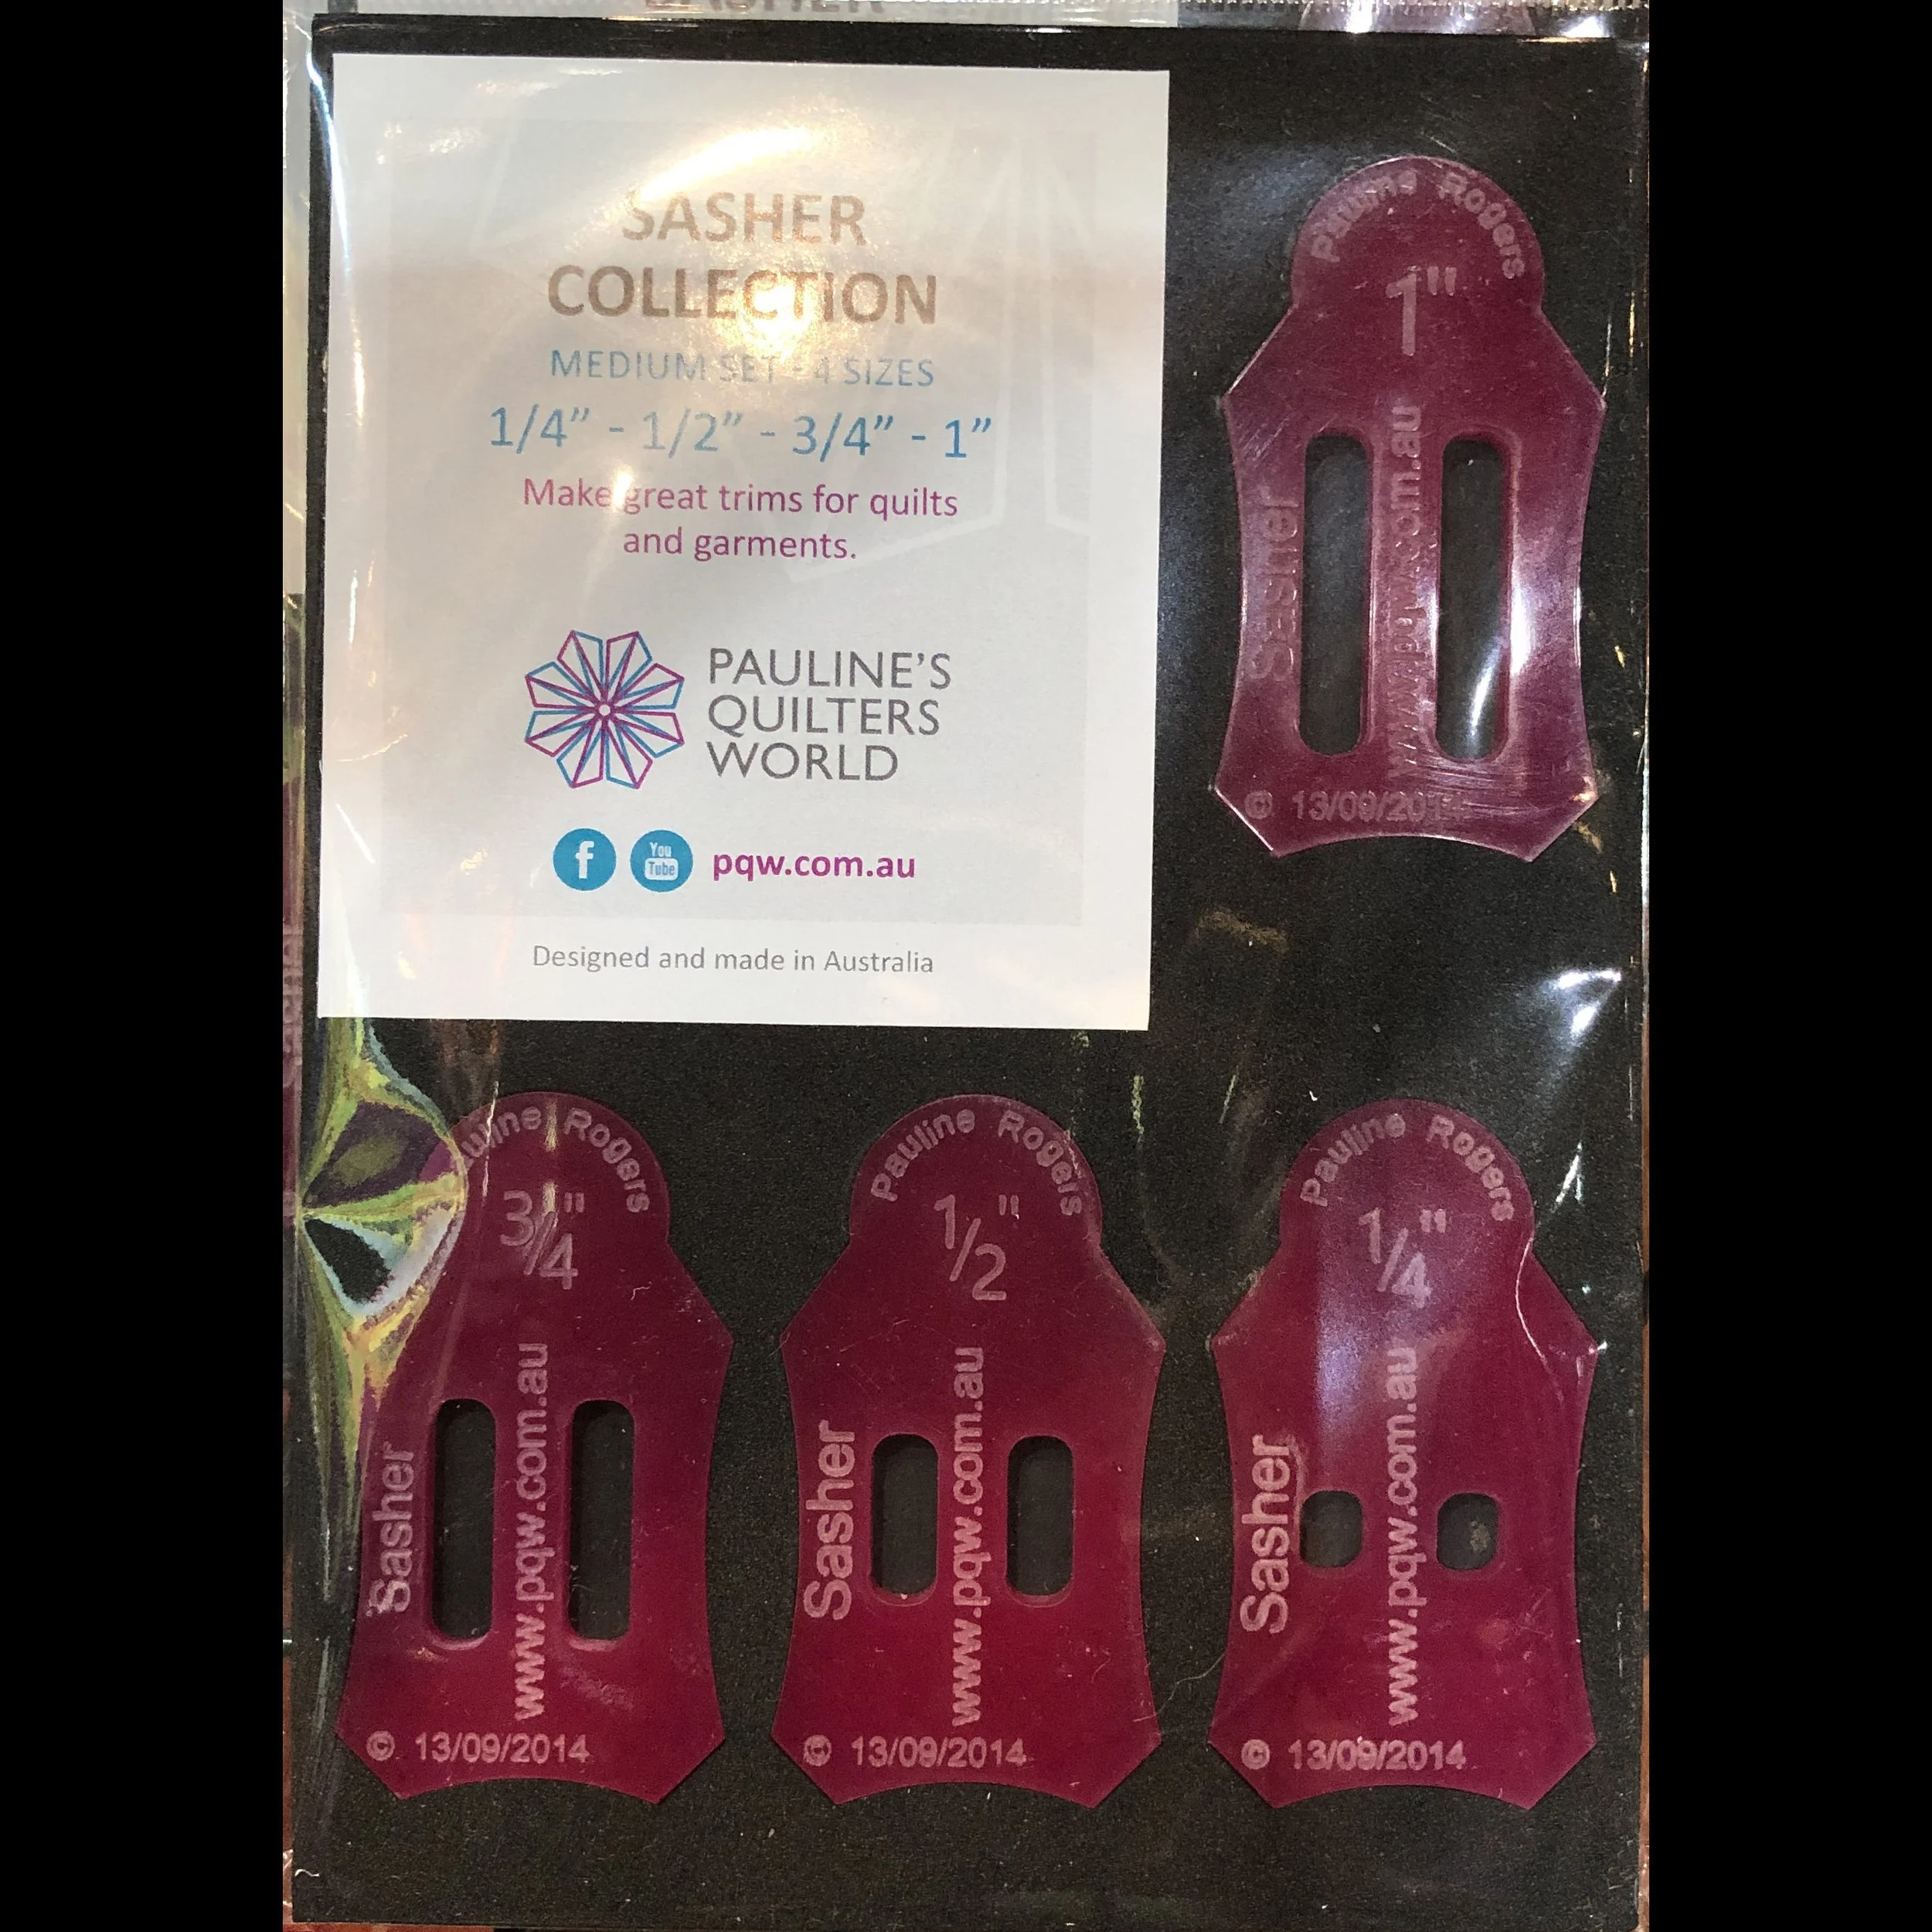
Method 1: Back to Back & 2: Spacer use sashing that follow Pauline Rogers’ method for plain/ Appliqué blocks and then pieced blocks. These two methods you quilt to the edges of your blocks, trim and join with sashing strips. Learn how to use the handy sasher tool and Roxanne’s basting glue, all in the workshop kit, to make joining your quilted blocks a breeze. The Quilt-As-You-Go handbook is recommended.
Method 3 joins your quilted blocks from the top without sashing. To learn this method students will need 4 – 6 ½” x 6 ½” pieced blocks that are layered and quilted to 1 1/2” from the edge all around.
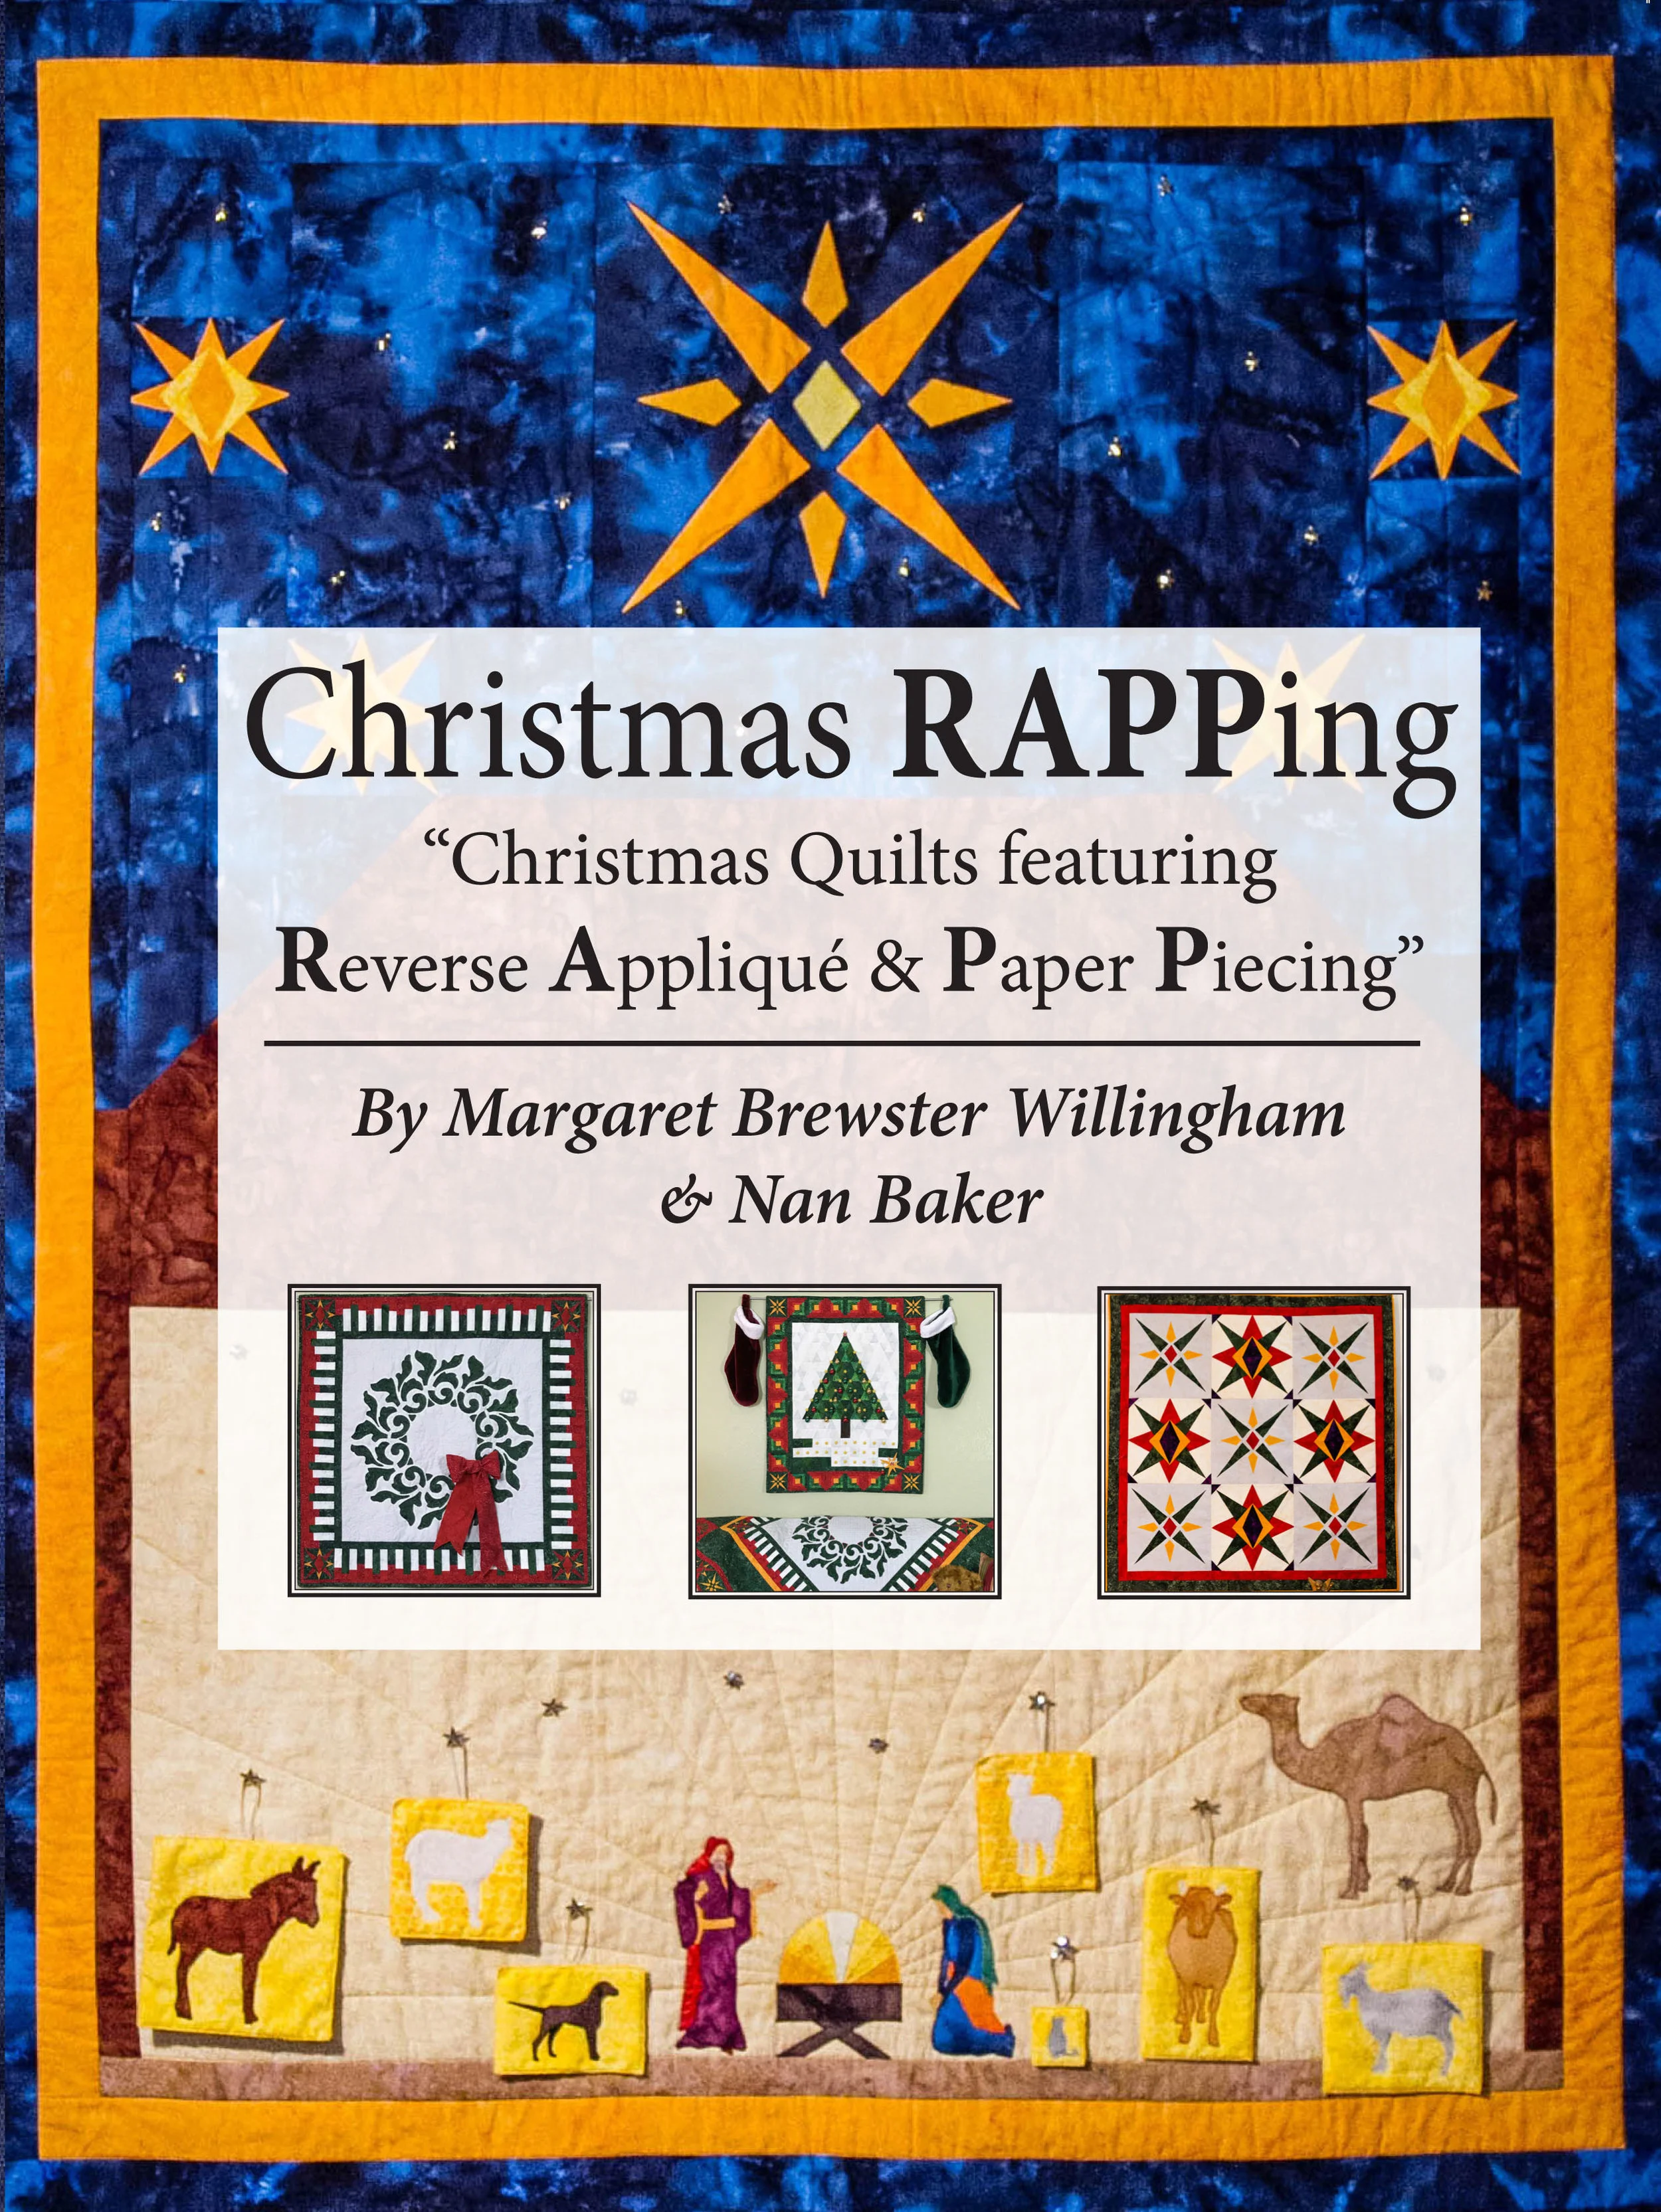
Quilting considerations for the Quilt-as-you-go method and quilting ideas for reverse applique will also be discussed.
IMPORTANT INFORMATION!!
A vital packet of information will be delivered to you as a PDF download at time of purchase. Download it to your computer or print it within 24 hours. It has:
Zoom link for the class
Information about the Required Kit
Information about the optional kit
Supply List
Preparation Instructions before class
Why the Tools are Important
Time Zone Table
You will need to purchase the Required Kit, sold separately, in our shop. There is also an optional kit available. In addition we have all the notions you need to make this technique successful.
Come join the fun!
Class is Non-transferable and non-refundable.
Required Workshop kit-4 ways: ORDER by January 1 (available via my website – 4 options + shipping)
Cost: Small = $23.76; Medium = $41.76; Large = $64.76; Ultimate = $71.76 +shipping PRE-ORDER all required kits at www.eobquiltdesign.com by January 1.
· Roxanne’s basting glue-1 oz.
· Sasher set. Select: Small - 1” Sasher; Medium - 4 pc. Sasher Set; Large - 10 pc. Sasher set; Ultimate -12 pc. Sasher set
· How-to Handouts
Quilt-As-You-Go handbook, Optional Kit 1, is recommended
Optional kit 1: cost= $39.00 + shipping. Order Optional kit 1 by January 1.
· Quilt-As-You-Go Handbook
Quilt-As-You-Go Supply List
Quilt-As-You-Go Handbook*. Optional Kit 1, but strongly recommended.
Required Workshop kit (order by January 1 on www.eobquiltdesign.com )
Method 1: Back to Back-
· 4 – 6 ¾” x 6 ¾” plain/appliqué blocks layered and quilted to the edge
· 1 – 2” x 44” sashing strips
Method 2: Spacer-
· 4 – 6 ½” x 6 ½” pieced blocks layered and quilted to the edge
· 1 – 2” x 44” sashing strips
· 1 – 1 ½” x 44” spacer strip
· 1 – ¾” x 44” batting strip
Method 3: Front to Front-
· 4 – 6 ½” x 6 ½” blocks (pieced, appliqued or simply quilted) layered and quilted up to 1 ½” from the edge all around
Other Notions Required for Workshop:
· Threads: 1 spool each of 40 or 50 wt. for stitching:
Piecing blocks together (Methods 1, 2 & 3)
SAME COLOR or invisible for top stitching sashing (Methods 1 & 2)
SAME COLOR for hand stitching back closed (Method 3)
· Scissors: 2 pair small, sharp scissors - our Kai 4” bent-handled sharp-tipped and blunt-tipped scissors recommended
· Pins: straight pins, fork pins and/ or Quilt clips
· Hand sewing needles – see recommended products
· Roxanne’s basting glue (included in required workshop kit)
· Marking Implement for fabric (Frixion gel pen)
· 1” Sasher (included in required workshop kit)
· Cutting Mat
· Rotary cutter
· Ruler
· Iron
· Ironing surface
*These and other helpful items are available for purchase in notions on www.eobquiltdesign.com
Preparation before Quilt-As-You-Go class: Come to class with:
Method 1: Back to Back
Create and prepare 4 – 6 ¾” x 6 ¾” plain or applique blocks. Layer and quilt them to the edge.
Cut 1 – 2” x 44” sashing strip.
Method 2: Spacer
Create and prepare 4 – 6 ½” x 6 ½” pieced blocks. Layer and quilt them to the edge.
Cut 1 – 2” x 44” sashing strip.
Cut 1 – 1 ½” x 44” spacer strip.
Cut 1 - ¾” x 44” strip batting.
Method 3: Front to Front
Create and prepare 4 – 6 ½” x 6 ½” pieced, appliqued or simply quilted blocks. Layer and quilt them up to 1 ½” from the edge all around.