Red & White Explosion: From the Agony of Defeat...
Recap from Red & White Explosion: From the Thrill of Victory...
Hooray! After three years of work designing, hand stitching and hand quilting, my Red & White Explosion quilt was done. It was June 20, 2017. I was to deliver my finished Quilt on June 21 at Noon to the staff of the Vermont Quilt Festival, so it could be hung as my faculty showcase piece. All that remained was to wash the quilt to remove my quilting markings.
That's when disaster struck! Hope against hope, the red dye, from my pre-washed fabrics, had bled and the quilting markings had not come out! My quilt of three years in the making was ruined.
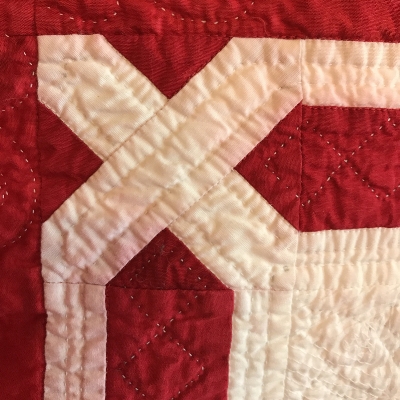
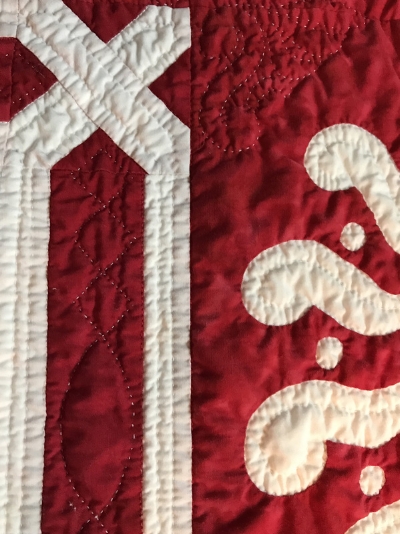
Red & White Explosion was my faculty showcase piece at Vermont Quilt Festival, 2016, even though it was now a red, white & pink quilt.
Though I was devastated, I couldn’t dwell on my quilt disaster.
I had a booth to set up, a festival to work, trunk shows to do and workshops to teach. After Vermont Quilt Festival, Red & White Explosion got packed in my quilt suitcase and I tried to forget about it until I returned to Colorado July 20, 2017.
Once home I barely had time to think about it. I had one week to catch up on mail, do the books, unpack from my recent trip and prepare for a hip replacement. Life keeps pressing forward.
While scrolling Facebook one night a friend told of a similar bleeding experience she had with her quilt. But she had found an answer!
She sent me to a blog by fabric dyer, Vicki Welsh, entitled “Save my Bleeding Quilt”. I went to Vicki’s website, www.colorwaysbyvicki.com, downloaded the blog (its free) and hungrily read. She gives no guarantees, but has had tremendous success. A huge ray of hope broke through my despair.
I figured I had nothing to lose. Either the quilt would remain ruined, or it would be “fixed”. At least now there was a chance. As much as I wanted to try to save my bleeding quilt NOW, I couldn’t because I had hip replacement surgery to get through.
Fast forward to a week after my hip replacement. My sister Barbara, yes the same one who was there when disaster struck, was out helping to take care of me post operatively. I told her about the blog and gave it to her to read. She was as excited as I, and had been earnestly praying that the quilt could be “fixed”.
We made preparations. I say we, but it was really all Barbara. I was hobbling around with a walker, in a drugged haze, unable to go anywhere, or pick up or carry anything. Barbara went to the store and bought a gallon of Dawn Ultra Blue, Tupperware containers to fill with water to act as weights. We brought up a bunch of plastic bin lids from my basement, too. These would rest on the quilt laden with the water-filled Tupperware containers that would keep the quilt submerged, and turned the hot water heat up to 140 degrees.
Barbara at the tub, babysitting Red & White Explosion.
Please download and print out Vicki’s blog (Save My Bleeding Quilt) for the steps, as I’m not going to give you the thorough, complete step-by-step instructions. I will only be giving you my personal experience as it pertains to Red & White Explosion.
In the morning we began, Barbara began. We filled the bathtub ½ full with full-on hot water and added a ½ cup of Dawn. Then, praying, we put the quilt in the water. As the tub was filling to full, we agitated the quilt in the water and continued agitating it for another 10 mins. after the tub was full. The water immediately turned pink. This from pre-washed fabrics. For the next hour, following Vicki’s directions, we agitated the quilt every 10 mins. for an hour or so. Then we drained the tub and began again.
The first soak. Stirring Red & White Explosion every 10 mins. during the first hour.
Red & White Explosion turned the water pink immediately. This is after the first hour before draining the water to begin again.
The 2nd soak. Red & White Explosion is weighted down by plastic bin lids laden with tupperware containers filled with water to keep the quilt completely submerged.
The second time the quilt soaked, weighted down by the water-filled Tupperware containers, for 12 hours. (You weight the quilt down so it is completely submerged. This is very important. The dye gets suspended by the soap’s surfactants in the water. Any place that the quilt bubbles above the water creates a dye line at the water line.) The water was still pink. We drained the tub, squeezed out the quilt and did it again, and again. It took 3 days of soaking, 12 hours at a time, until the water was clear for at least 6 hours.
By now all the excess red dye was released from the quilt. We thought the red that bled onto the white had also been removed, but it was hard to tell while the quilt was wet.
It was time to rinse it. This we did, still praying, in the washing machine with cold water and no soap. We machine dried it for 23 minutes to get the heavy wet out of it, and then hung it to dry the rest of the way.
A Miracle happened. Our prayers were answered. The bled-red was gone, and so, finally, were my quilt markings.
Block 1. The white has turned pink in spots from bleeding red dye.
Block 1. After 3 days of hot water soaks with Dawn Blue Ultra.
White sashing around center medallion that is decidedly pink.
Same corner after 3 days of hot water soaks with Dawn Blue Ultra.
Sashing and block 11 tinged pink from bleeding red dye.
Sashing and block 11 after hot water soaks with Dawn Blue Ultra.
I’ve never met Vicki, but I’m indebted to her and am going to give her a big hug and a kiss whenever I do.
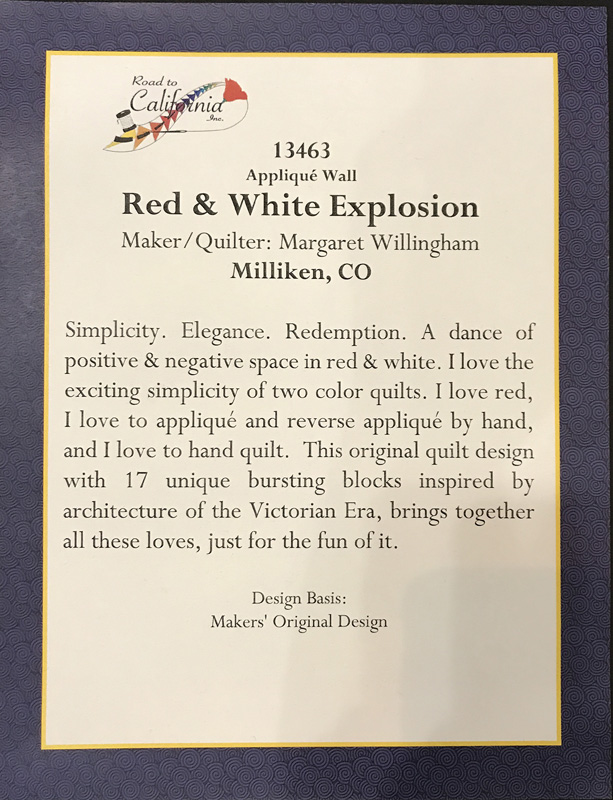
Red & White Explosion (66" x 66") hanging at Road to California, January 2018.
Now that Red & White Explosion is fixed, I have been entering it into quilt competitions in hope and with a prayer. So far its been accepted into Road to CA 2018, and AQS Paducah, spring 2018.
After going through this experience I've totally re-thought how and why I pre-wash my fabrics. With Vicki's expert advice I no longer believe I'm trying to set the remaining dye into my fabric. The goal of pre-washing my fabric is to get rid of all the excess dye. And I want to do this before I make my quilt.
I'm currently working on a blue & white competition quilt. You can believe me that I immediately gave all my blue & white materials hot water baths with Dawn Blue Ultra before I took another stitch. It took 4 days for all the excess dye to release from those pre-washed fabrics.
If you have a quilt that's grayed from blues and purples, or turned pink from bleeding red, I encourage you to following the steps in Vicki Welsh's blog "Save My Bleeding Quilt". You've got nothing to lose, but all the excess dye.


