Adding a Sleeve for Hanging
Eye of the Beholder quilts on display at Quilt! Knit! Stitch!, Portland, OR.
All my quilted pieces need a sleeve so I can hang them up to display them in my booth at quilt shows. Perhaps you want to hang yours up too. Read to find how I put my hanging sleeves on.
I add my hanging sleeves onto my quilts after I have machine stitched the bindings, but before I hand stitch the binding down.
The standard depth for a hanging sleeve is 4" deep when finished. It is best to make it 1/4" - 1/2" deeper, though, so there is some ease.
I make a pocket or casing type sleeve. When my quilts are hung, the rod will fit into the sleeve pocket and not actually be touching my quilt back. This protects the quilt itself from dirt and wear from the rod.
Cut sleeve fabric width of piece(26") by twice the sleeve depth (9").
Making the sleeve.
I begin by measuring the width of my piece.
For my Radiance, Medallion V pattern the finished dimension is 26" across the top.
To make my pocket I want twice the depth of my sleeve, plus seam allowance.
1. Finished pocket depth= 4" + 1/4"(.25")seam allowance= 4 1/4"(4.25") x 2 = 9".
I cut my sleeve fabric for Radiance 26" x 9".
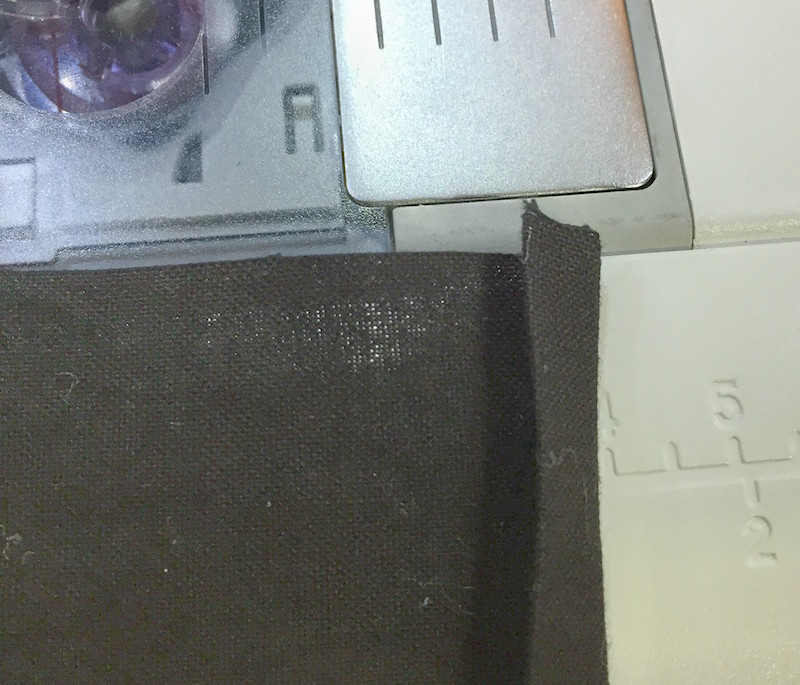
End of sleeve folded and ironed.
You want to hem the edges of the sleeve so they won't fray.
2. Fold the end 1/4" over, iron. And then fold over 1/4" again and iron.
Your raw edge is now tucked inside the fold.
Sew in the middle of the fold to hem.
3. Go to your sewing machine and sew.
Your sleeve is now 25" wide x 9" deep.
4. Fold your sleeve in half lengthwise and iron, making your self pocket 25" x 4 1/2”. You are ready to sew it onto your quilt.
Attaching the Sleeve pocket to your Quilt.
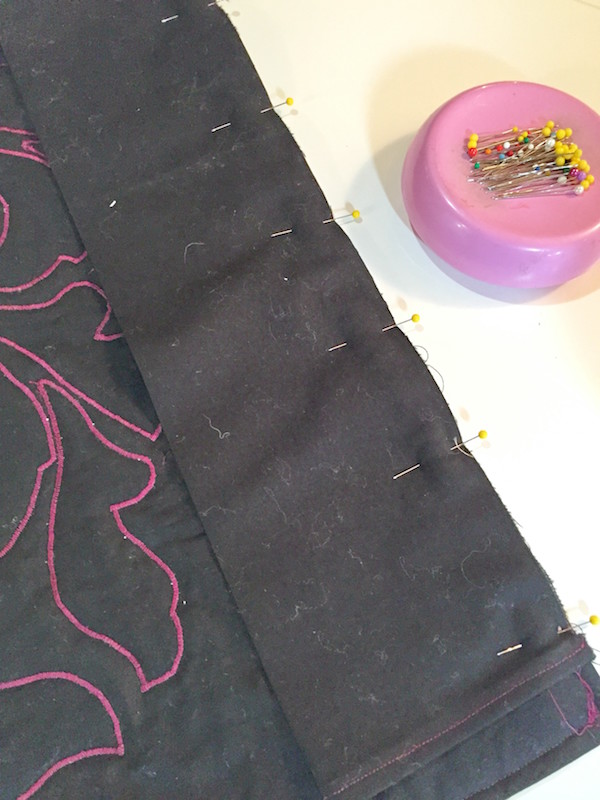
5. Lay sleeve pocket on the back of your quilt, aligning raw edges of your sleeve pocket with the raw edge of your quilt. Keep the hemmed end away from the stitching line of your binding. (The perpendicular stitching in you can see is the stitching for your binding.) Pin.
6. Using a 1/4" seam allowance, sew.
7. Pin the folded edge of the sleeve pocket to the back of your quilt.
8. Hand stitch using your binding stitch, being careful to catch only the back of the quilt. Do some extra anchoring stitches at the edges of the sleeve, as they will take extra stress.


