Machine Reverse Applique - Part 1 of 5: Creative Possibilities
Welcome to Part 1 of our 5- part blog series on Machine Reverse Applique. Follow along and gain insight into how to prepare your piece and how to approach machine reverse applique to stitch with success. Become familiar with your sewing machine. Be aware of how you think about machine reverse applique. Learn tips for curves, circles, corners and acute points.
Blocks 13 and 6 from Midnight Explosion Quilt VII created as pillows. Created by machine reverse applique.
Creating one of our patterns by machine is a nice alternative to hand stitching. It is faster and opens up different creative possibilities.
Though not all of our patterns can be created by machine reverse applique, about 80% can. These patterns come with directions for both hand and machine reverse applique. (To learn the basics of our process see the Technique Tutorial Machine Reverse Applique.)
Our machine process uses paper-backed iron-on fusible.
My favorite brand is Soft Fuse.
Soft Fuse has paper on one side for tracing the design
Soft Fuse comes 37” wide so I don’t have to piece my fusible when doing a wider project
Soft Fuse has a lightweight glue, yet adheres well
Soft Fuse doesn't gunk up my sewing machine needle when stitching
When my project is all done and I wash it, the piece softens up and feels like there is no fusible in the piece at all.
Illumination Medallion X (36" x 36" or 56" x 56"). Created with a dark purple background fabric.
Unique Creative possibilities of Machine Reverse Applique*
Use a dark fabric for the background. This is possible because you trace the design onto the paper side of your iron-on fusible instead of onto your background fabric.
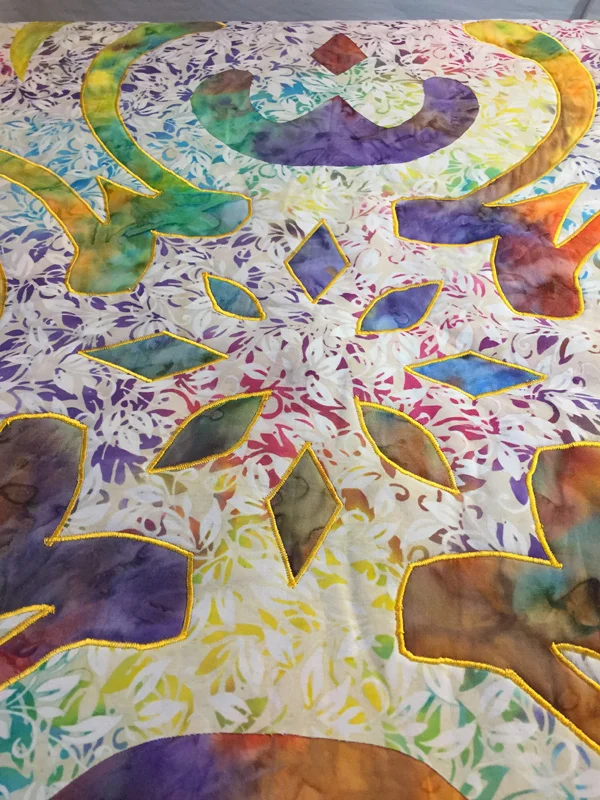
Majesty, Medallion IX (36" x 36"). Created with a dark background fabric and stitched with a contrasting yellow thread.
Use a contrasting thread color for your stitching. Though I generally use a thread color that disappears into my top fabric, you can add a spot of color with a contrasting colored thread. You can accent some of the design elements of your piece by using an accent thread color.
Added Speed
Very simply, Machine reverse applique is faster, particularly for those last minute gifts.
Machine Reverse Applique is 2/3's faster than hand reverse applique, and faster still when you Appli-quilt (see below). When you are on a tight deadline, this is the way to go.
Appli-quilting
Trace the design onto the paper side of your fusible. Iron it onto the wrong side of your top fabric. Cut out the design from your fused top and then peel the paper to iron it onto the right side of your background fabric.
Wait. Don't machine reverse applique now.
Layer your fused top with your batting and backing. Now you are ready to machine reverse applique through all your layers. So, the machine reverse applique becomes your first round of quilting, too, putting you even closer to finishing.
* Potential for Some Extra Creative Fun
When you cut the shapes out of your fused top to make your reverse applique pattern, take the time to carefully cut them out. Now you have a collection of fused shapes to get creative with them.
You could make a machine applique version of the same pattern. A positive piece to your negative reverse applique piece. Use your pattern piece as a template for placement.
You could use them to create a new applique design of your own making
You could use them to patch your jeans or decorate a denim jacket
You could use them to create an applique border around reverse applique piece, like we did with Illumination, Medallion X
See you next week, January 10, 2018, for Machine Reverse Applique - Part 2 of 5: Stabilizing Your Fabric. Do you or don't you need to stabilize your fabric before machine reverse appliqueing? Learn about some new ways to stabilize.
Visit the machine applique section of our shop for our unique reverse applique patterns for creating by machine.


